Chatbot Platform #7 - Going live!
A step by step guide to deploying and testing the Chatbot platform

Live Demo & Source Code
Check out the fully functional chatbot builder demo
After weeks of back and forth in Cursor, trying to resolve the linting errors (due to Vercel’s strict deployment policies), I was finally able to solve them after upgrading to Claude 3.7.
If you want the full source code, you can check it out my repo: https://github.com/anantgarg/chatbot-builder
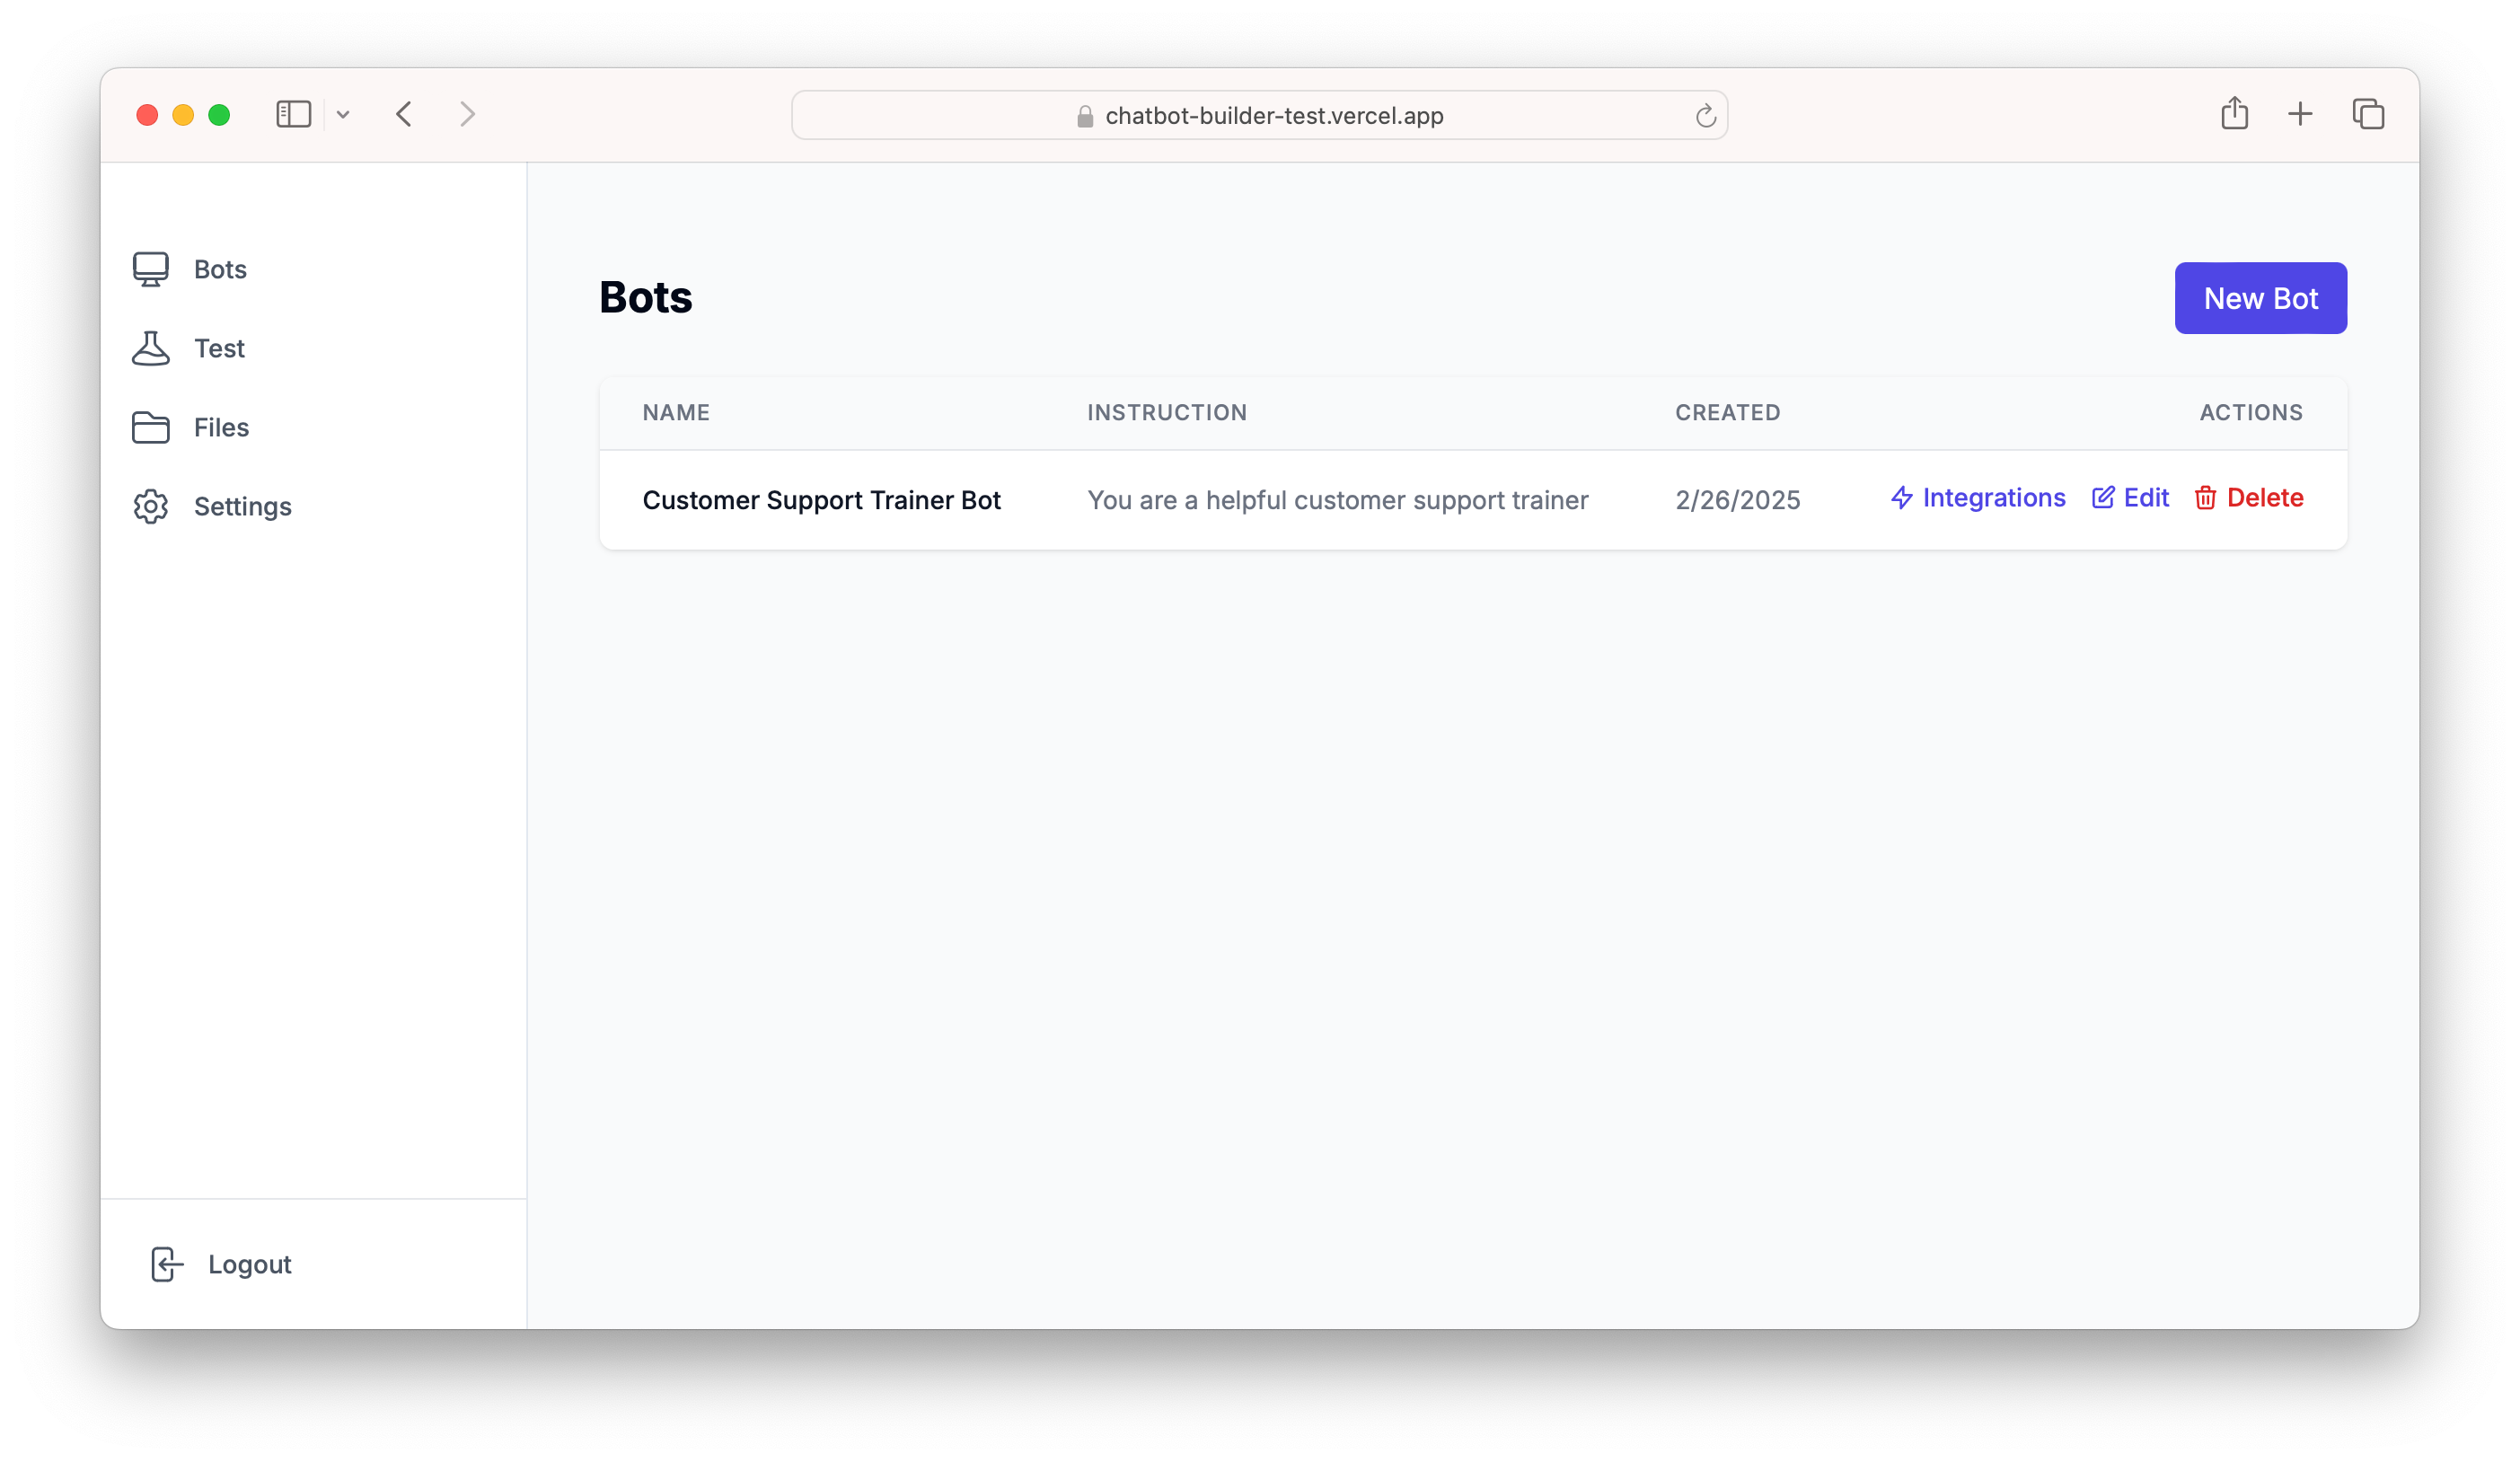
Here is the final look of the Chatbot Builder-

Try it out yourself at:
https://chatbot-builder-test.vercel.app
Deploy your own Chatbot Builder
To publish your app to Vercel, here are a few simple steps:
First and foremost, fork my chatbot builder repository (and don’t forget to give it a star!)
Then signup and login to Vercel
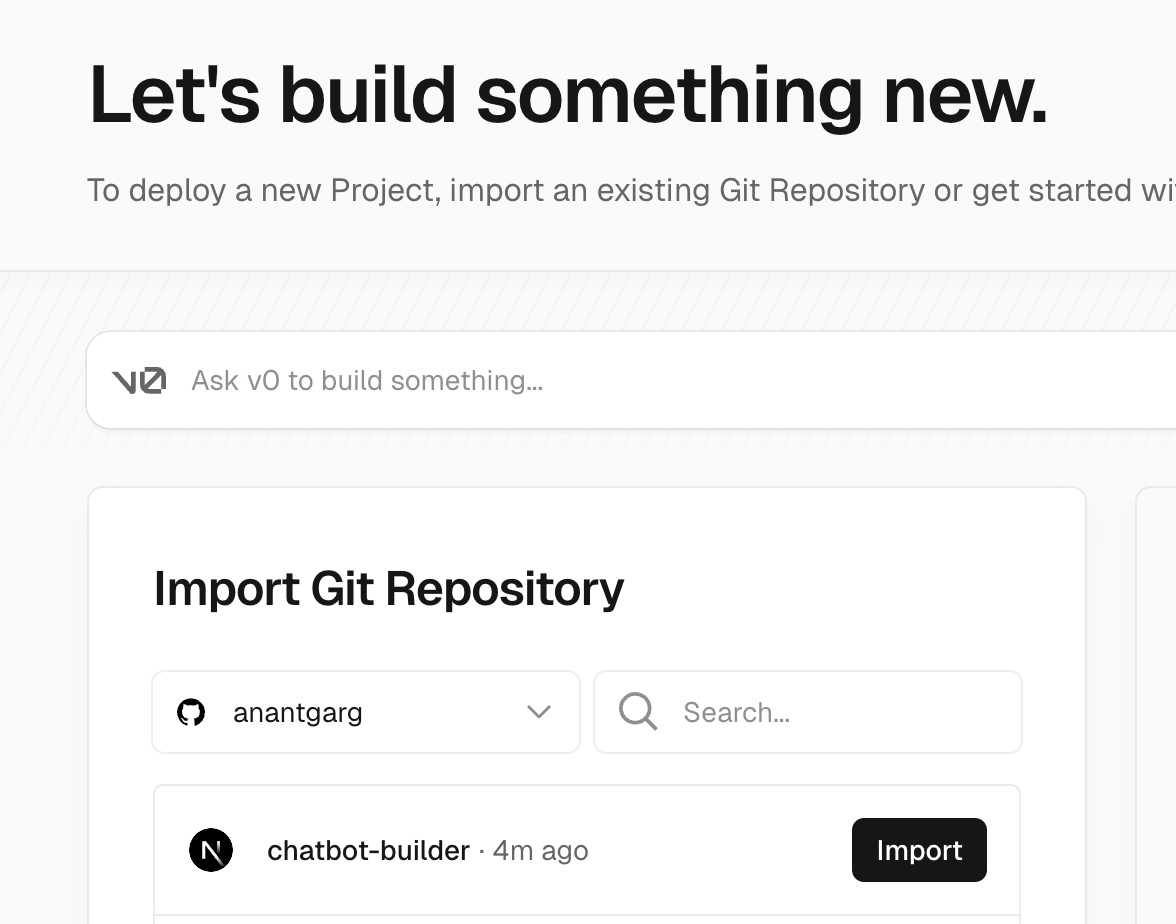
Add a new project and select the forked repo from Import Git Repository
4. Hit Deploy (don’t update the environment variables as yet)
You’ll get an error. That’s okay. Click on the Goto Project button.
In your project, head to Storage and click on the Create Database button. Now select Neon (Serverless Postgres) from the options. Choose the free option and create the database.
Now head to Settings and click on Environment Variables from the side bar. Add `JWT_SECRET` key. Verify that `DATABASE_URL` key is already present (would have been auto created if the database was successfully created)

You should see a toast asking you to redeploy. Click on the Redeploy button and follow the onscreen instructions.
Once successful, click on the Visit button to view your Chatbot builder


Test your Chatbot Builder
Head to the deployed URL and sign up for an account
Go to Settings tab and input your OpenAI key. Click on Test API Key to test if the key has been correctly added.
Then head to Bots tab and create a new bot

Then head to Files tab and upload relevant files and attach them to the newly created bot

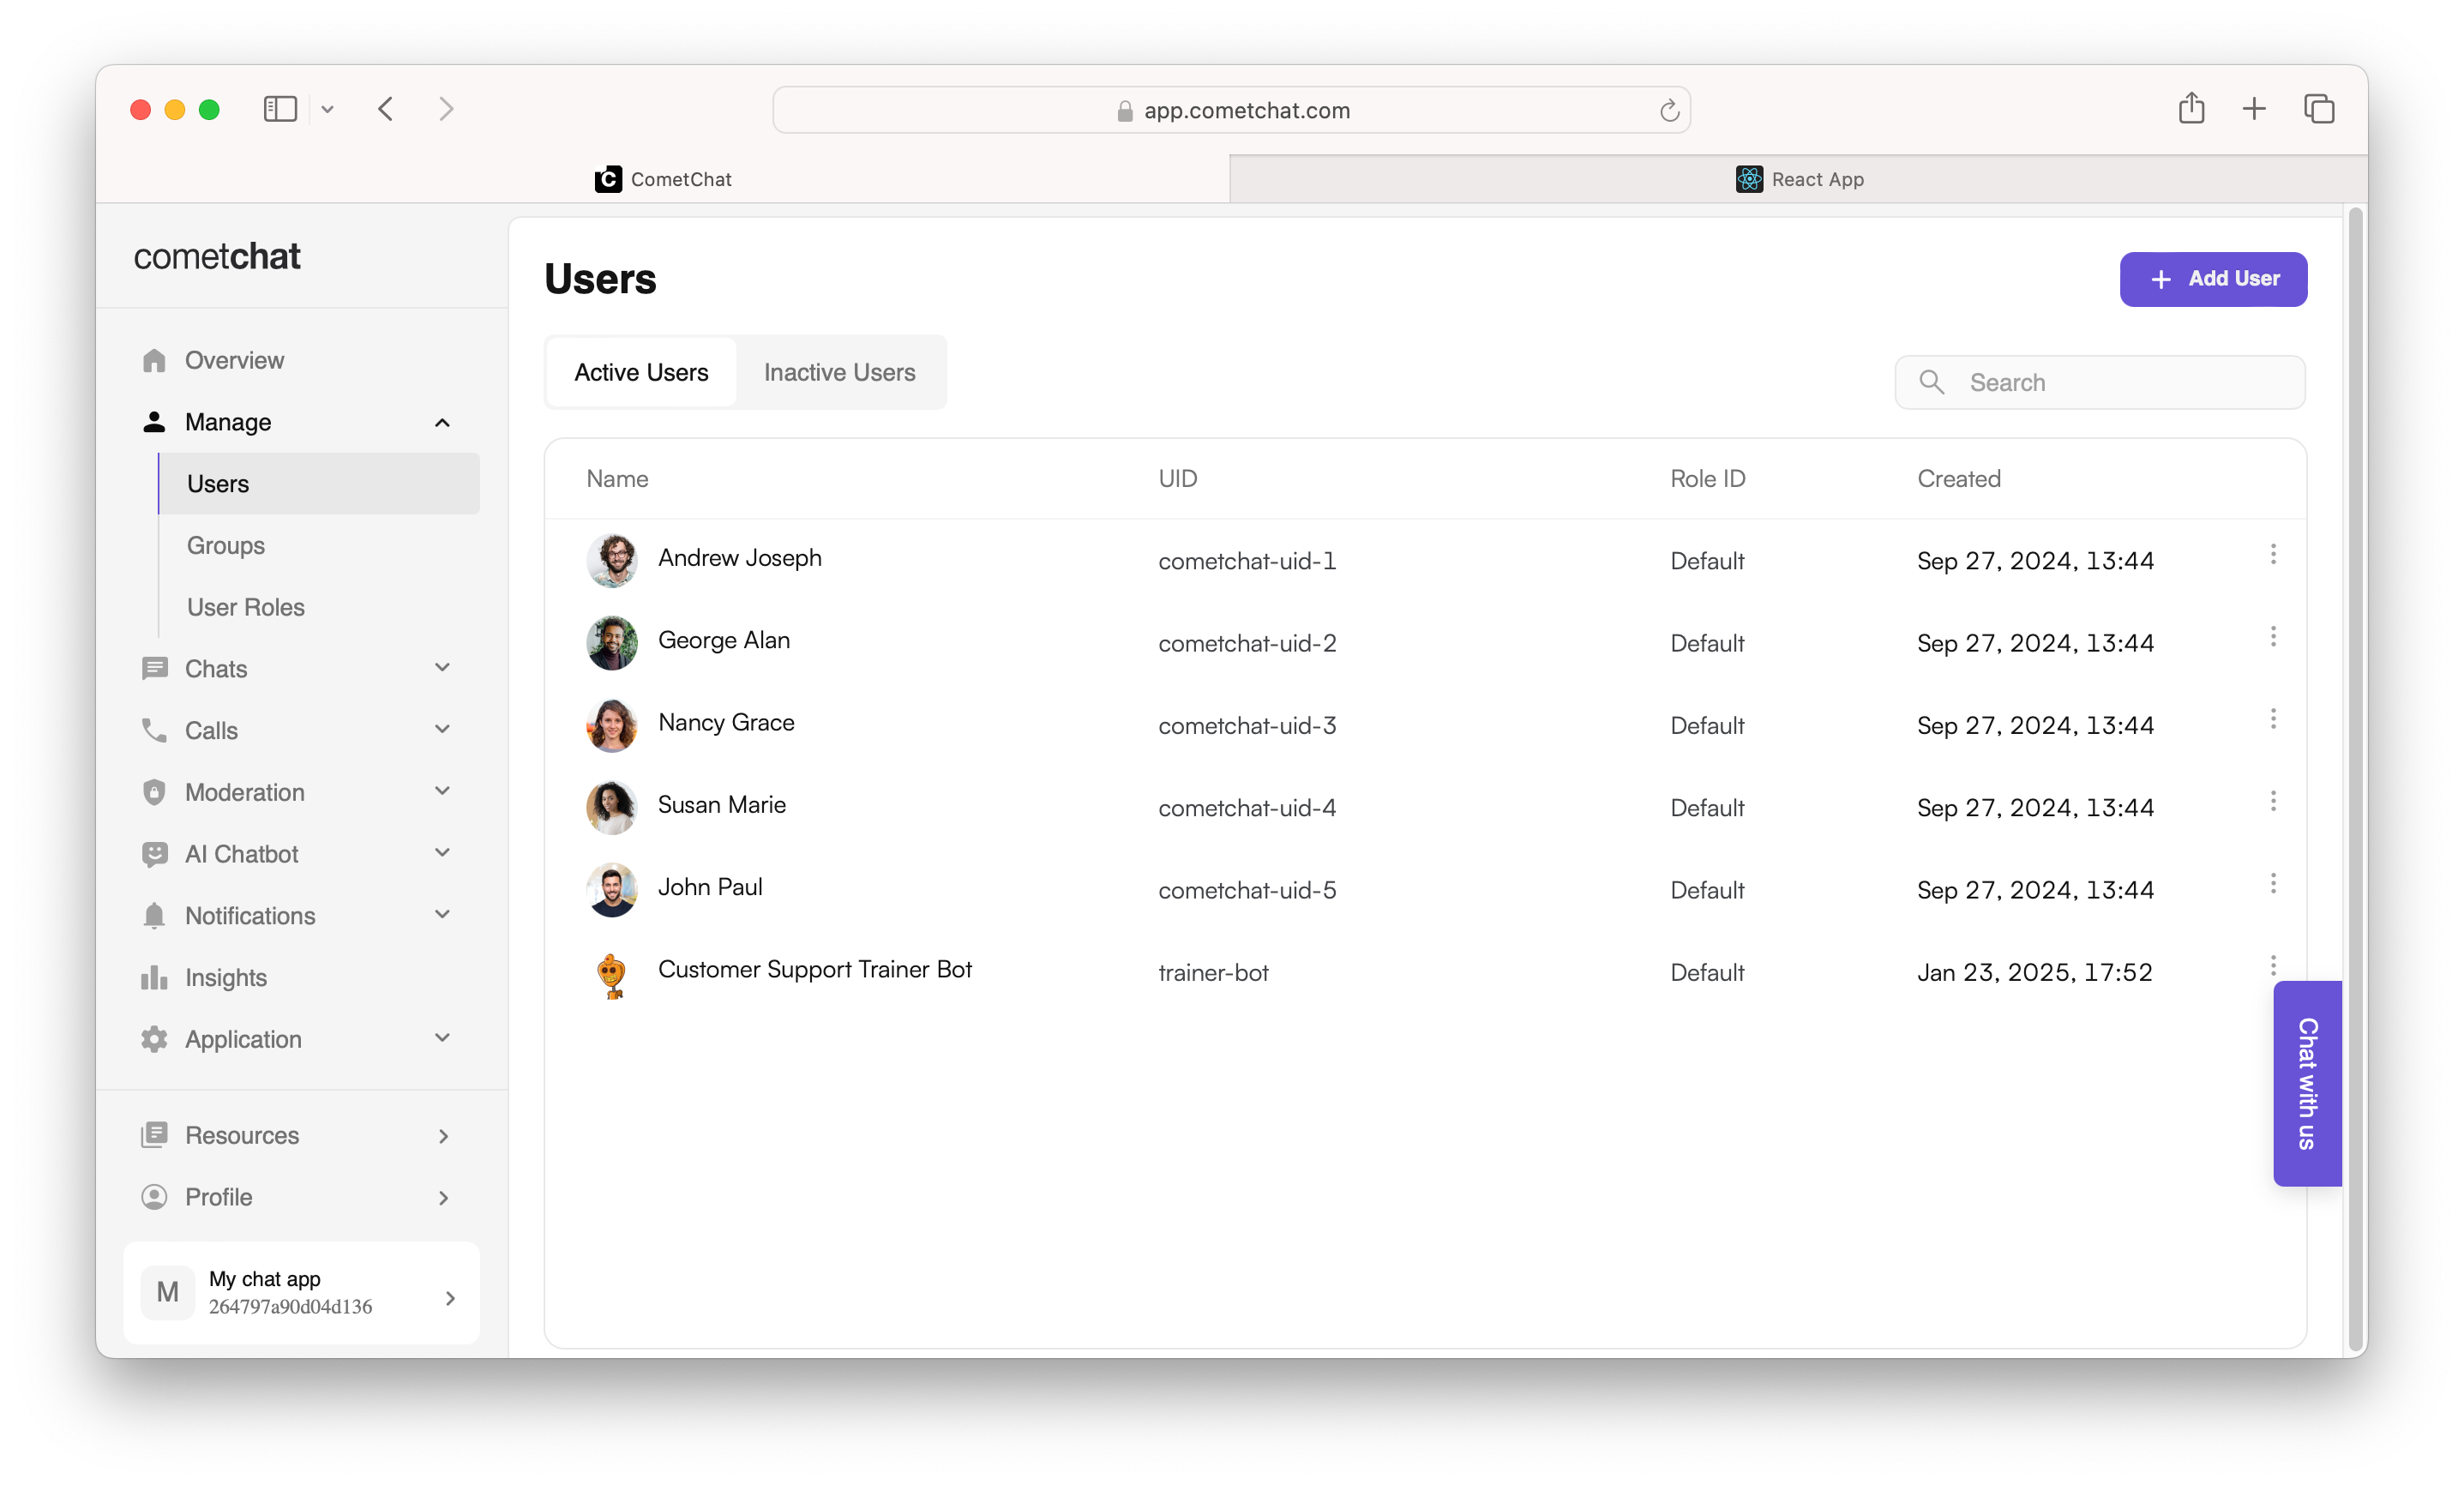
Then signup for an account at CometChat and head to Manage > Users tab and create a new user.

Then head back to your Chatbot Builder and next to the bot you created, click on Integrations and then Configure Integrations and select Enable CometChat Integration. Add these credentials from your CometChat Dashboard > Application > Credentials page.

Hit Save and you should get a web hook URL

Now head to CometChat Dashboard > AI Chatbot > Non-AI Bots and create a new bot. In the UID, use the same UID as the user you had created and for the URL, use the Webhook URL generated from the Chatbot Builder. And finally hit Save.
Now head to Manage > Groups and select Edit for Hiking Group and then Add Members. Add the new bot you just created.
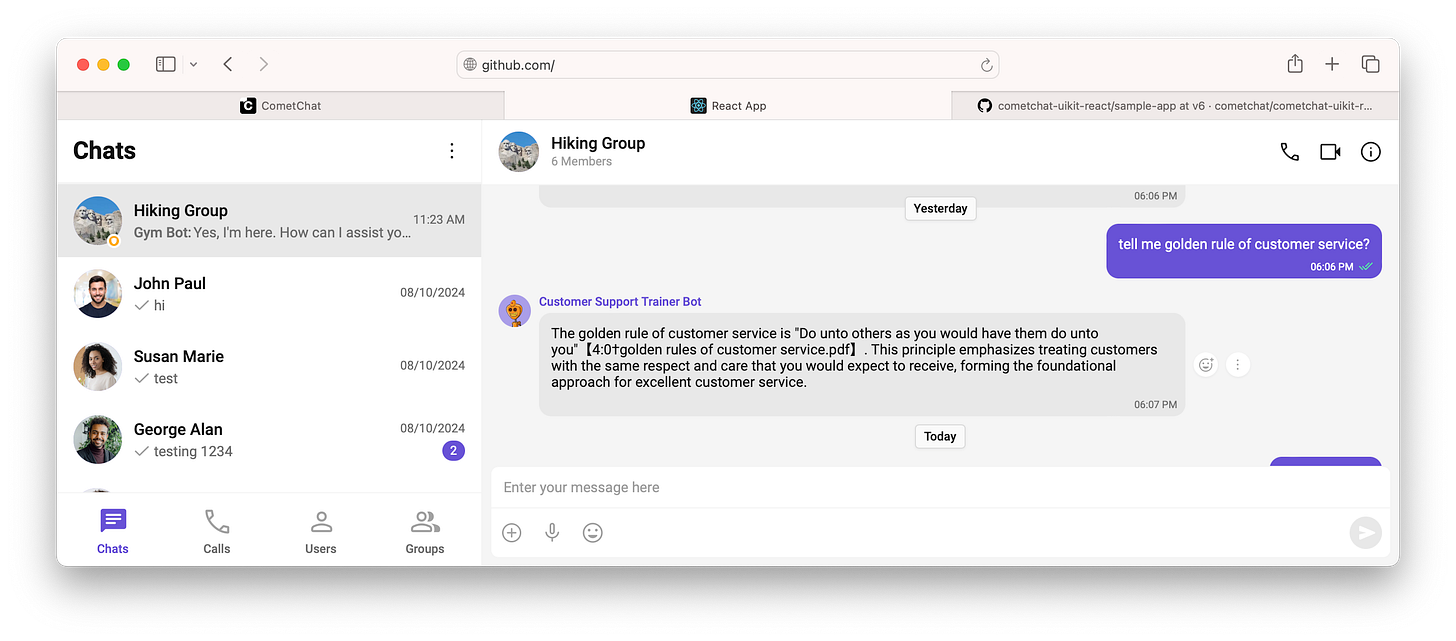
Finally, run the sample CometChat React app by following the onscreen instructions

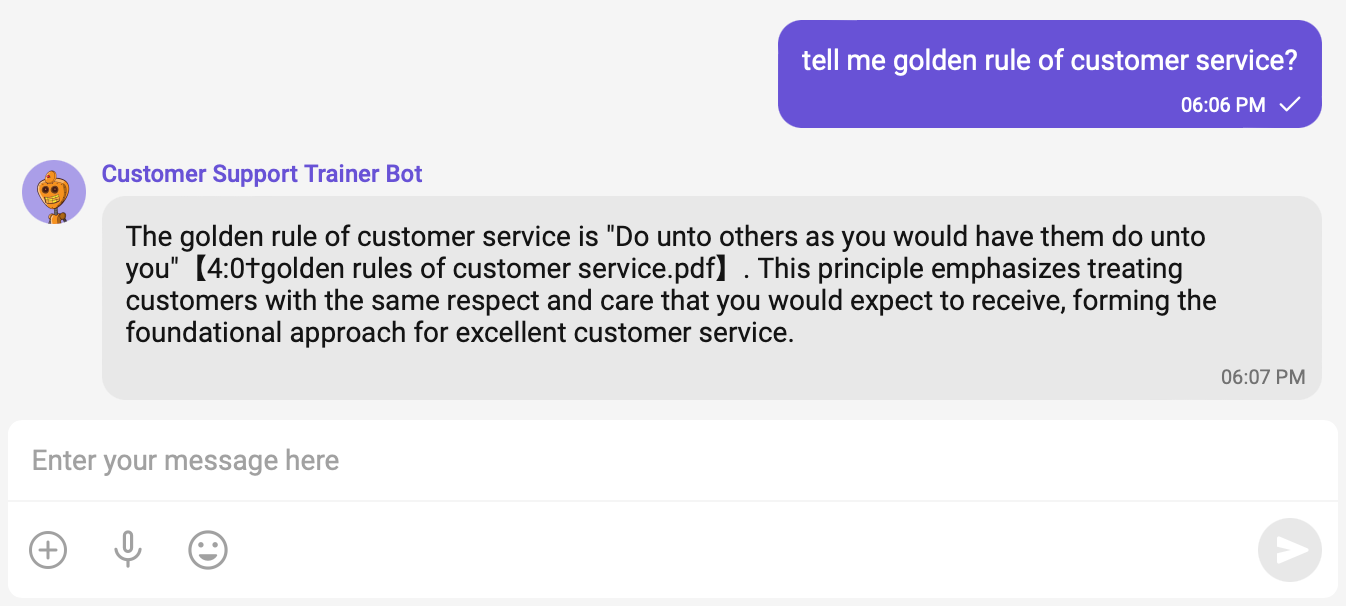
If everything went as per plan, you should be able to head to the Hiking Group chat and ask any question and get a response from the newly created bot!